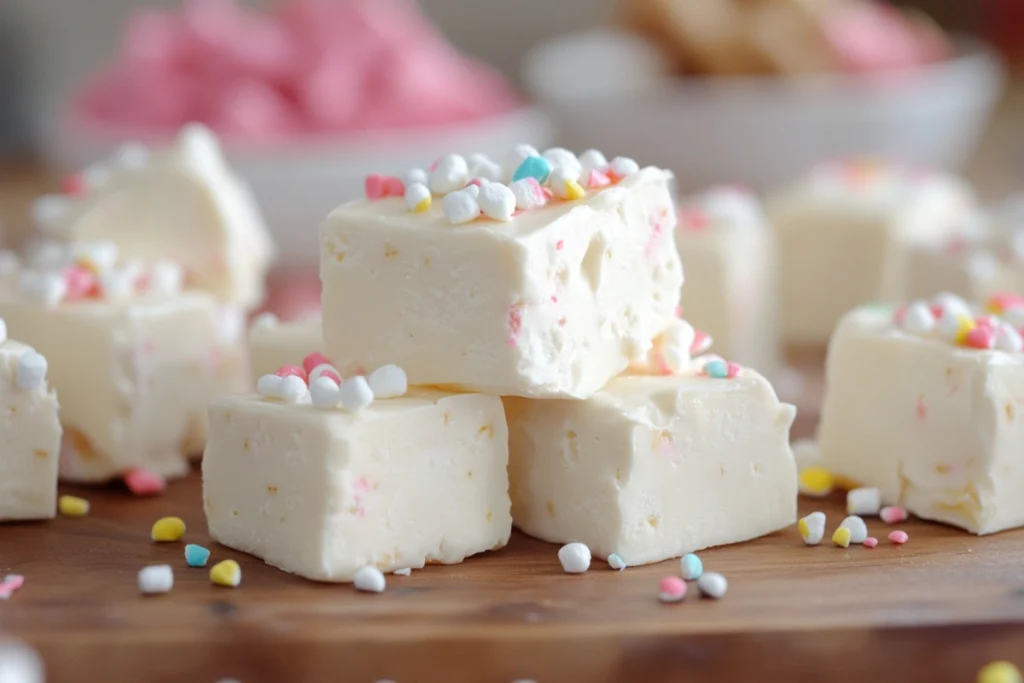
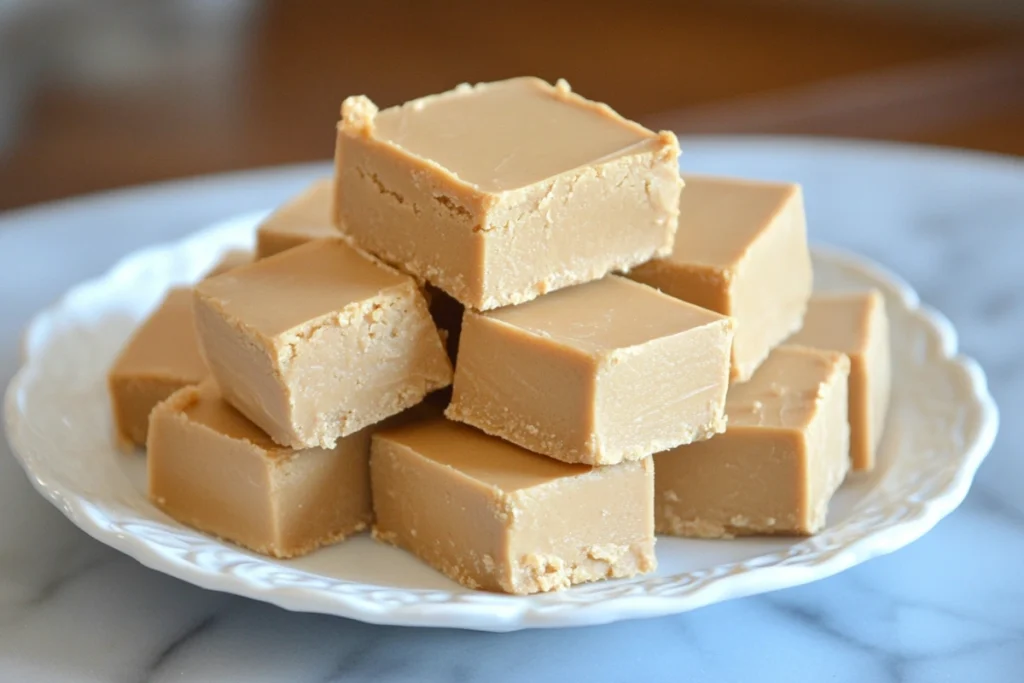
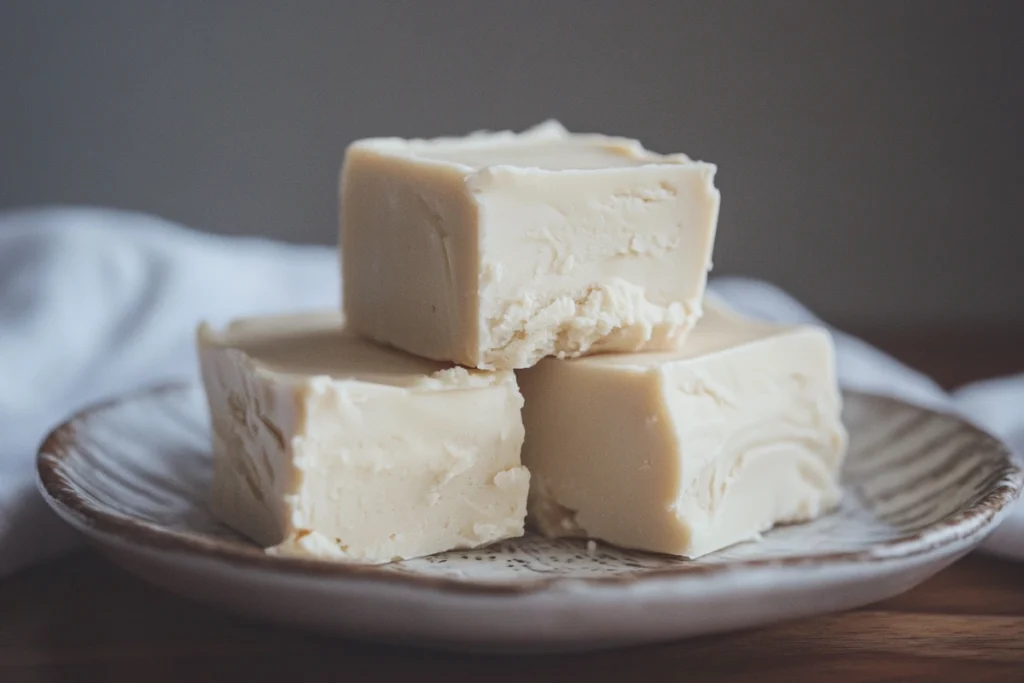
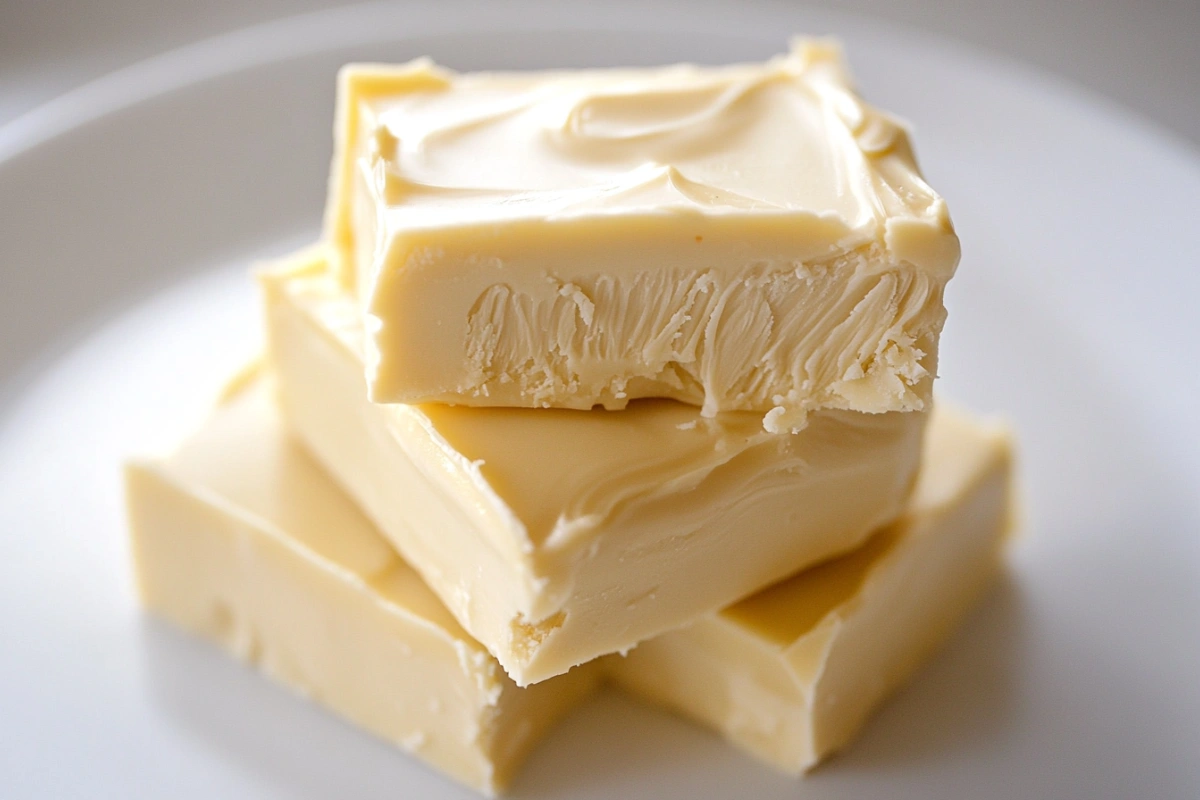
Fudge is a sweet, velvety treat that has delighted candy lovers for generations. However, despite its simplicity, achieving that perfectly creamy texture can be a challenge. Fudge lovers often wonder, what’s the secret to making creamy fudge without it becoming grainy or hard? This article breaks down the essential tips, techniques, and ingredients required to create a batch of rich, smooth fudge every time. From understanding the importance of temperature control to learning how to choose the right ingredients, we’ll dive into everything you need to know.
1. Essential Ingredients for Perfect Fudge
Fudge begins with a few core ingredients that, when combined, create the luscious treat we all love:
- Sugar: Sugar is the base of all fudge recipes. It’s responsible for the structure and sweetness of the fudge. To avoid graininess, use a fine-grain sugar and cook it carefully.
- Butter: Butter provides richness and helps create a soft, smooth texture. Make sure to use unsalted, high-quality butter.
- Evaporated Milk: This ingredient gives fudge its creamy body. Its thick consistency allows it to mix well with the sugar and other ingredients, avoiding any wateriness.
- Marshmallow Creme or Marshmallows: Marshmallow creme is a game-changer for smooth fudge. It prevents sugar crystals from forming, keeping the fudge creamy and soft. You can substitute with marshmallows, but the creme works better for a consistently smooth result.
- Chocolate Chips: Using high-quality chocolate chips ensures the fudge has a rich flavor. Semi-sweet or dark chocolate is usually preferred, but you can customize this according to your taste.
- Vanilla Extract: Adds flavor depth and balances the sweetness.
- Optional Nuts: Adding nuts like pecans or walnuts can provide a delightful crunch and contrast to the creamy fudge.
Why High-Quality Ingredients Matter
Choosing high-quality ingredients, especially butter and chocolate, can make a noticeable difference in the final product. Lower-quality ingredients may have added oils or water that can ruin the texture of the fudge. For example, marshmallow creme is key in fantasy fudge recipes, as it ensures a consistent creamy finish by reducing the chances of crystallization.
Creating creamy fudge requires precision and attention to detail. Follow these steps carefully to achieve that melt-in-your-mouth texture that fudge lovers crave.
2. Step-by-Step Instructions for Creamy Fudge
While fudge is a simple treat in theory, there’s a fine art to getting it just right. Below is a detailed guide that will help you master the fudge-making process:
- Prep Your Ingredients
Before you start cooking, make sure all your ingredients are measured and ready. Fudge requires constant attention, so you won’t have time to measure ingredients while stirring. - Combine Sugar, Butter, and Milk
In a heavy saucepan, combine the sugar, butter, and evaporated milk. Stir the mixture constantly over medium heat until the butter melts and the sugar dissolves. - Bring to a Boil
Once the mixture starts to boil, insert a candy thermometer. You’ll need to reach a temperature of 234°F (soft-ball stage) for the fudge to set correctly. Keep stirring while the mixture heats to avoid burning. - Add Chocolate and Marshmallow Creme
Remove the pan from the heat once it hits the correct temperature. Immediately stir in the chocolate chips and marshmallow creme. These ingredients will melt and blend quickly, creating a smooth base. - Add Vanilla and Optional Ingredients
Stir in the vanilla extract and, if desired, any additional ingredients like chopped nuts or a sprinkle of sea salt. - Pour into a Prepared Pan
Quickly pour the mixture into a greased or parchment-lined pan. Spread it evenly using a spatula. Allow the fudge to cool at room temperature until fully set. - Cut and Serve
Once the fudge has cooled completely, cut it into squares and enjoy!
Tips for Avoiding Grainy Fudge
Graininess is a common issue when making fudge. To avoid this, make sure the sugar is fully dissolved before boiling, and don’t stir once the mixture starts to cool. Also, using marshmallow creme helps prevent sugar crystallization, making the fudge smoother.
External link: For more tips on the science of cooking fudge, you can explore the National Institute of Health’s information on food crystallization.

3. Why Did My Fudge Turn Out Grainy?
Graininess in fudge is one of the most frequent complaints from home cooks. The cause often comes down to improper sugar crystallization. Here’s why it happens and how you can prevent it:
- Incorrect Temperature: Fudge must be cooked to the soft-ball stage, which is around 234°F. If you cook it below or above this temperature, it can result in grainy or overly firm fudge.
- Stirring After Boiling: Once the fudge starts to cool, avoid stirring it until it’s fully set. Stirring during the cooling phase can cause sugar crystals to form, leading to that unwanted grainy texture.
- Not Dissolving the Sugar Properly: Make sure the sugar fully dissolves in the butter and evaporated milk mixture before bringing it to a boil. If there are any undissolved sugar granules, they can ruin the smooth texture of your fudge.
How to Fix Grainy Fudge
If your fudge turns out grainy, don’t worry—there’s a way to salvage it. Try these tips:
- Reheat the Fudge: Put the fudge back in the saucepan and add a small amount of water or cream. Reheat it to the soft-ball stage while stirring constantly, then follow the cooling process as usual.
- Add Marshmallow Creme: If graininess is a recurring issue, consider using marshmallow creme in your recipe. It contains stabilizers that prevent sugar from crystallizing, ensuring a creamy result.
4. Why Did My Fudge Not Set?
Another common problem is fudge that won’t set properly. If your fudge is too soft or doesn’t harden, here are the likely reasons:
- Under-Cooking: Fudge that isn’t cooked to the proper temperature (soft-ball stage) will remain soft and gooey. Using a candy thermometer helps you avoid this issue.
- Too Much Moisture: Overly humid conditions or using too much liquid in the recipe can prevent fudge from setting. Make sure to cook the mixture until it reaches the correct temperature and thickness.
How to Fix Fudge That Won’t Set
If your fudge won’t set, here’s what you can do:
- Reheat and Re-Boil: Reheat the fudge, bringing it back to the soft-ball stage, and then pour it into the pan again. This can help it firm up properly.
- Refrigerate the Fudge: Sometimes, placing the fudge in the fridge or freezer can help it set, especially if the room temperature was too warm when you made it.
5. Peanut Butter Fudge Recipe
If you’re a fan of peanut butter, this creamy, rich peanut butter fudge is a must-try. It’s a perfect blend of sweet and salty, with that melt-in-your-mouth texture you crave.
Ingredients:
- 2 cups sugar
- ½ cup milk
- 1 tsp vanilla extract
- 1 ½ cups peanut butter
- Optional: crushed peanuts for garnish
Steps:
- In a saucepan, combine sugar and milk. Bring to a boil, stirring constantly.
- Once the mixture reaches 234°F, remove from heat and add peanut butter and vanilla. Stir until smooth.
- Pour into a greased pan and allow it to set at room temperature before cutting into squares.
Marshmallow Fudge Recipe
Adding marshmallow creme to your fudge not only helps prevent graininess but also gives it a fluffy, airy texture. This recipe is particularly kid-friendly and ideal for holidays or parties.
Ingredients:
- 2 cups sugar
- 1 ½ cups marshmallow creme
- ½ cup evaporated milk
- 1 cup chocolate chips
- 1 tsp vanilla extract
Steps:
- Combine sugar, milk, and marshmallow creme in a saucepan. Heat until sugar dissolves.
- Bring to a boil and cook until it reaches the soft-ball stage.
- Stir in chocolate chips and vanilla, then pour into a prepared pan to cool.

6. Old-Fashioned Fudge Recipe
For those who enjoy a more traditional approach, old-fashioned fudge delivers that classic dense and chewy texture. This version omits modern ingredients like marshmallow creme and sticks to the basics.
Ingredients:
- 2 cups sugar
- 1 cup whole milk
- 1 tbsp butter
- 1 tsp vanilla extract
Steps:
- Cook the sugar and milk mixture until it reaches soft-ball stage (234°F).
- Remove from heat and add butter and vanilla. Let it cool slightly before stirring to reach the right consistency.
- Beat the mixture vigorously until it thickens and pour into a pan to set.
Fantasy Fudge Recipe
Fantasy fudge has gained popularity because of its extra-creamy texture, often thanks to the use of Jet-Puffed marshmallow creme. It’s a richer, softer take on the traditional fudge recipe.
Ingredients:
- 3 cups sugar
- 1 ½ sticks butter
- 2/3 cup evaporated milk
- 1 ½ cups chocolate chips
- 1 jar (7 oz) Jet-Puffed marshmallow creme
Steps:
- Cook sugar, butter, and milk together, then bring to a boil.
- Add marshmallow creme and chocolate chips once the mixture reaches the soft-ball stage.
- Stir until smooth and creamy, then pour into a prepared pan to set.
7. Pro Tips for Perfect Fudge Every Time
Making the perfect fudge is an art, and even seasoned candy-makers can struggle to get it just right. Luckily, mastering fudge-making comes down to understanding a few key principles and following these expert tips. Let’s explore the secrets to consistently achieving creamy, delicious fudge that melts in your mouth.
The Role of Temperature in Fudge-Making
One of the most important factors in fudge-making is hitting the correct temperature. Fudge needs to reach the soft-ball stage, which is typically between 234°F and 240°F. But why is this temperature so important?
- Sugar Crystallization: When fudge is heated to the correct temperature, the sugar dissolves properly, creating a smooth, creamy texture. If you don’t reach this stage, the fudge may either be too soft or too hard.
- Using a Candy Thermometer: Invest in a good candy thermometer. Not only will it help you accurately monitor the temperature, but it will also prevent common mistakes like overcooking or undercooking.
Stirring Tips for Perfect Consistency
Another common mistake when making fudge is stirring it too soon or too much. Stirring impacts the sugar crystals, so when and how you stir matters:
- Stir After Cooling: Once the fudge reaches the right temperature, let it cool to around 110°F before stirring. Stirring too soon will result in grainy fudge.
- Stir Vigorously: Once cooled, stir the fudge vigorously until it loses its glossy appearance. This process helps the fudge firm up and develop its creamy texture.
Adding Mix-Ins Without Messing Up the Texture
Whether you want to add nuts, dried fruit, or other fun mix-ins to your fudge, it’s crucial to incorporate them at the right stage.
- When to Add Mix-Ins: Add your extras like nuts, chocolate chips, or marshmallows after the fudge has reached the soft-ball stage but before it cools completely. This ensures that the mix-ins stay well incorporated without disrupting the texture.
- Avoid Overmixing: Be careful not to overmix after adding the extras. Overmixing can cause the fudge to harden too quickly or become grainy.
Fudge Making in Humid Conditions
Humidity can seriously affect your fudge-making process. When the air is too moist, sugar doesn’t crystallize as easily, leading to fudge that won’t set properly.
- Best Practices: Try to make fudge on dry days or in an air-conditioned room. If that’s not possible, you can cook the fudge to the higher end of the soft-ball stage (240°F) to counterbalance the extra moisture in the air.

8. Storing and Packaging Fudge for Long-Lasting Freshness
Once you’ve made your perfect batch of fudge, the next step is knowing how to store it properly. Whether you plan to keep it for yourself or give it as a gift, proper storage and packaging techniques will ensure your fudge stays fresh, delicious, and visually appealing.
How to Store Homemade Fudge
Fudge is fairly easy to store, but there are some key tips to ensure it retains its flavor and texture over time. If stored correctly, fudge can stay fresh for weeks or even months.
- Room Temperature Storage: The easiest way to store fudge is in an airtight container at room temperature. Fudge can stay fresh for about 1-2 weeks this way. Be sure to wrap each piece in wax paper or parchment paper to prevent them from sticking together.
- Refrigeration: If you live in a particularly warm or humid environment, storing fudge in the refrigerator is a good option. Place it in an airtight container to avoid absorbing moisture or odors. In the fridge, fudge can last for up to 3-4 weeks.
- Freezing Fudge for Long-Term Storage: For even longer storage, freezing fudge is an excellent option. Wrap the fudge tightly in plastic wrap, then place it in a freezer-safe container or resealable bag. Fudge can last in the freezer for up to 3 months. When you’re ready to eat it, allow it to thaw at room temperature for the best texture.
How to Prevent Fudge from Drying Out
One of the most common issues with fudge storage is that it can dry out, losing its creamy, soft texture.
- Air Exposure: Exposure to air is the main culprit behind dried-out fudge. Always make sure your fudge is tightly wrapped or stored in an airtight container. Using wax paper to wrap individual pieces can also help.
- Storing with Moisture: Placing a slice of fresh bread or a damp paper towel in the container with the fudge can help maintain moisture levels without affecting the flavor.
Creative Ways to Package Fudge for Gifting
When it comes to gifting fudge, presentation is key. There are many creative ways to package your homemade fudge that will impress your friends and family.
- Decorative Tins or Boxes: Using colorful tins or personalized boxes adds a thoughtful touch. Line the tin with wax or parchment paper to keep the fudge fresh, and consider adding a ribbon or festive bow.
- Cellophane Wrap: For individual pieces or smaller fudge packages, clear cellophane wrap can showcase your beautifully made fudge. Tie the ends with decorative string or ribbon for an elegant look.
- Mason Jars: For a more rustic presentation, you can place fudge pieces inside small mason jars. Add a personalized label with the fudge flavor and maybe even a short note or recipe.
9. Frequently Asked Questions (FAQs) About Fudge-Making
In this final section, we’ll address some of the most common questions people have when making fudge. Whether you’re new to fudge-making or a seasoned pro, these answers can help you troubleshoot any issues and refine your process for the perfect fudge every time.
Why Did My Fudge Turn Out Grainy?
Grainy fudge is a common problem and often occurs due to sugar crystals forming too early in the process. This happens if:
- Stirring Too Early: If you stir the fudge before it cools to the right temperature (around 110°F), the sugar can crystallize, leading to a gritty texture.
- Not Dissolving Sugar Properly: Ensure the sugar is completely dissolved before bringing the mixture to a boil. Using a wet pastry brush to wipe down the sides of the pot can help avoid undissolved sugar particles.
How Can I Fix Fudge That Didn’t Set Properly?
If your fudge didn’t set, don’t worry! You can likely fix it by reheating and following a few simple steps:
- Reheat the Fudge: Place the fudge back into your saucepan and reheat it gently to the soft-ball stage (234°F – 240°F). Then, let it cool again before beating it to the right consistency.
- Boiling Issues: Sometimes, fudge doesn’t set because it wasn’t boiled long enough or to the correct temperature. Double-check the temperature using a candy thermometer.
Can I Make Fudge Without a Candy Thermometer?
Yes, you can still make fudge without a candy thermometer, but it requires a bit more attention:
- Soft-Ball Test: Use the traditional soft-ball test by dropping a small amount of the hot mixture into cold water. If it forms a soft, pliable ball, it’s ready to remove from the heat.
- Observation: Look for visual cues like how the mixture bubbles or the way it thickens, which can help guide you if you don’t have a thermometer on hand.
What Is the Secret to Creamy Fudge?
The key to making consistently creamy fudge is temperature control and proper stirring. Cooking the mixture to the right temperature and allowing it to cool without disturbing it helps ensure a smooth texture. Additionally, stirring after it cools down is vital for creating that melt-in-your-mouth creaminess.
How Long Does Fudge Last?
Properly stored fudge can last for a surprisingly long time:
- At Room Temperature: Wrapped tightly in an airtight container, fudge can stay fresh for up to 2 weeks.
- In the Refrigerator: Storing fudge in the fridge extends its shelf life to 3-4 weeks.
- In the Freezer: If you freeze fudge, it can last for 2-3 months. Just make sure to thaw it at room temperature for the best texture before eating.
Can I Use Alternatives to Sugar?
Yes, there are alternative sweeteners available if you’re looking to make fudge with less sugar. However, sugar substitutes can affect the texture and taste, so you may need to experiment with quantities.
- Natural Sweeteners: Some people use honey, agave syrup, or maple syrup as a substitute, though the consistency may change.
- Sugar-Free Options: If you want to use a sugar-free sweetener like erythritol or stevia, be aware that it may not set exactly the same way as traditional sugar-based fudge.
Conclusion: Mastering the Art of Creamy Fudge
Making creamy fudge might seem challenging at first, but once you understand the process and the key steps involved, it’s quite manageable. From choosing the right ingredients like marshmallow cream or peanut butter to ensuring the fudge reaches the correct temperature for that perfect texture, each detail contributes to the end result.
As you experiment with different fudge recipes, you’ll discover your own techniques and flavor combinations that work best for you. Whether you’re making a classic fantasy fudge recipe or a modern twist like low-sugar marshmallow fudge, the secret is in following the steps carefully, especially when it comes to heating and cooling.
And don’t forget the fun part—customizing your fudge! Once you’ve mastered the basics, you can experiment with endless variations like peanut butter fudge, marshmallow fudge, or even low-carb versions.
With proper storage and packaging, you can keep your homemade fudge fresh for weeks or gift it to friends and family in creative, festive ways. Enjoy making your creamy, melt-in-the-mouth fudge, and remember, the more you practice, the better it gets!

